
Last updated October 16, 2026
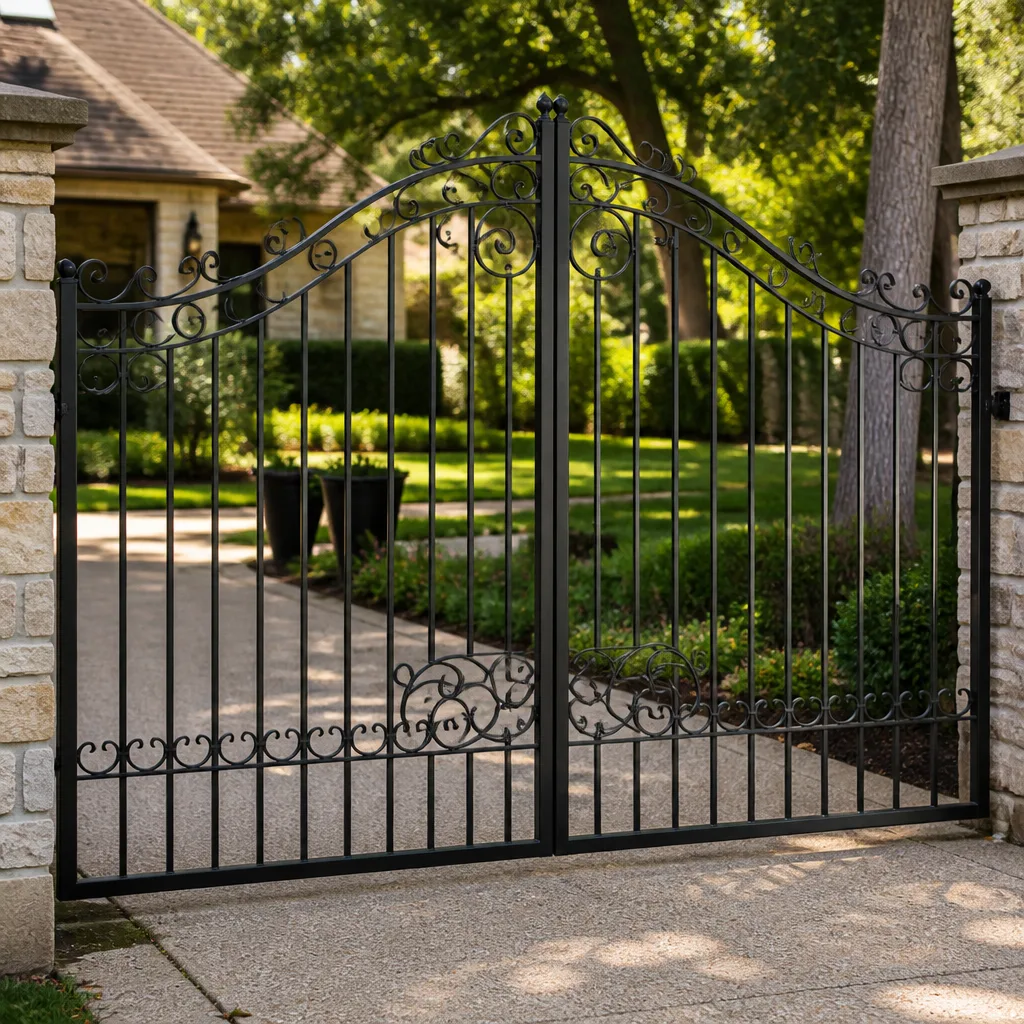 Wrought iron
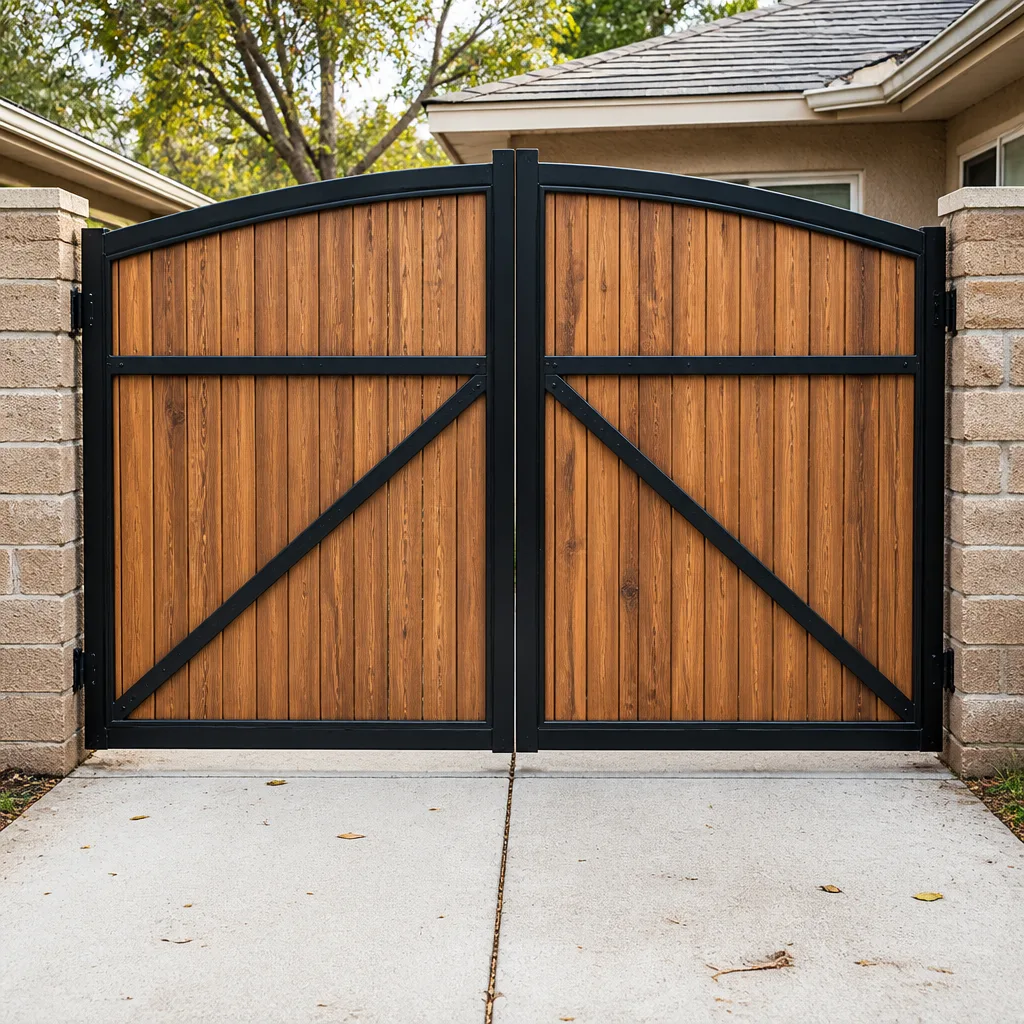 Wood & steel frame
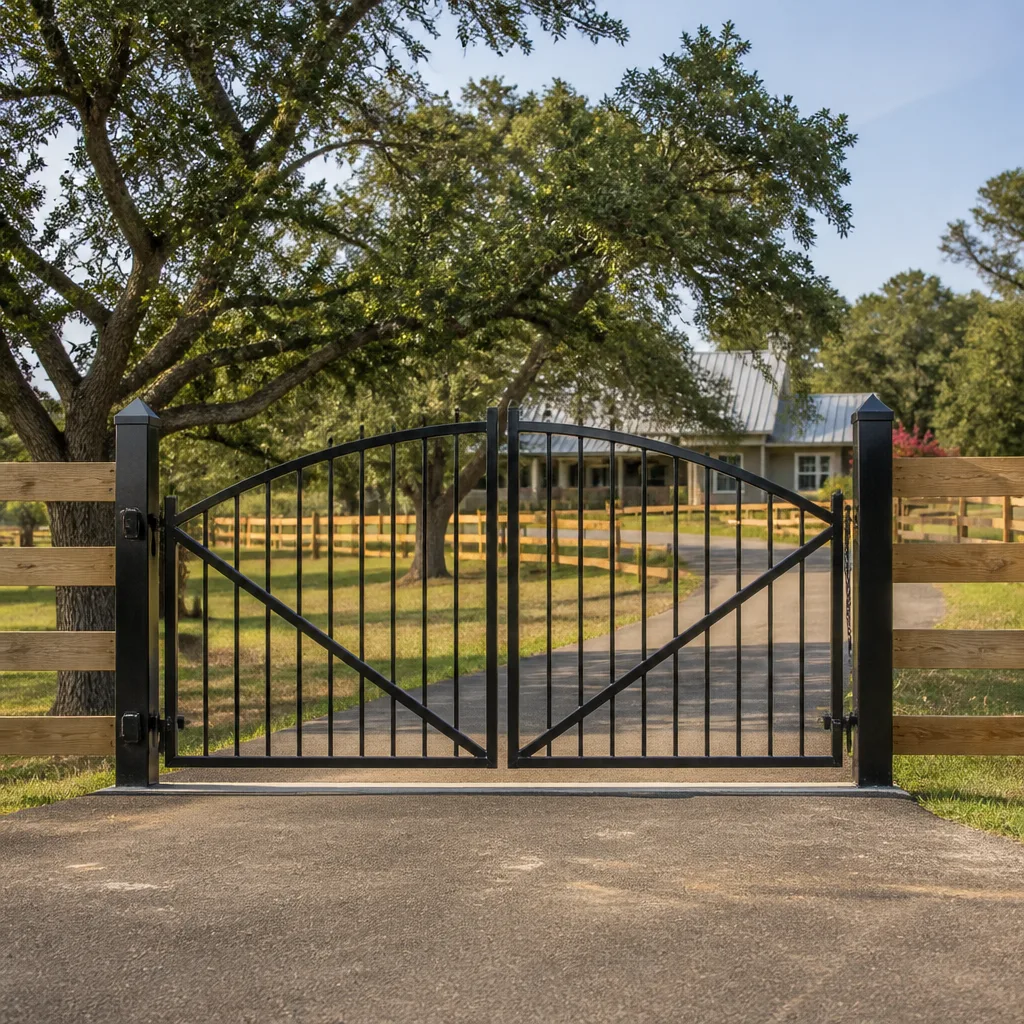 Farm & ranch
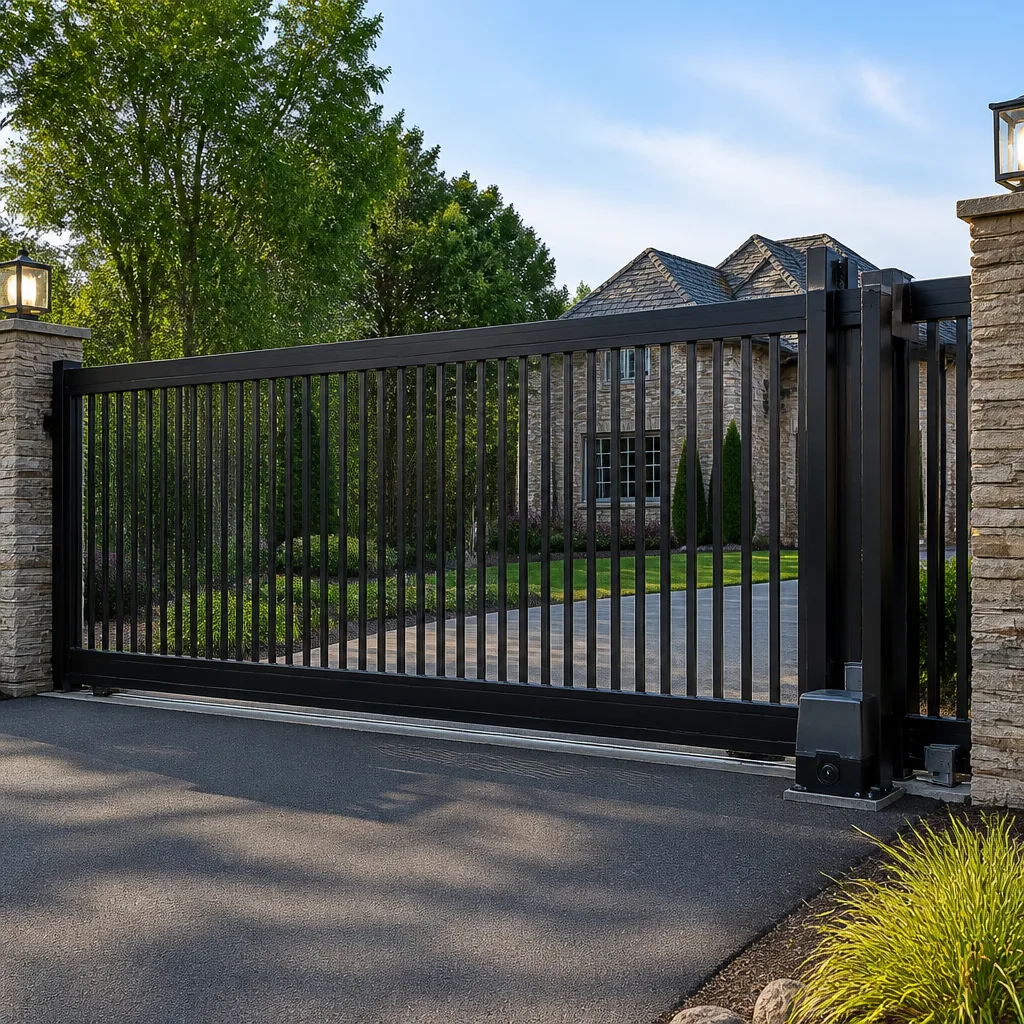 Sliding driveway gates
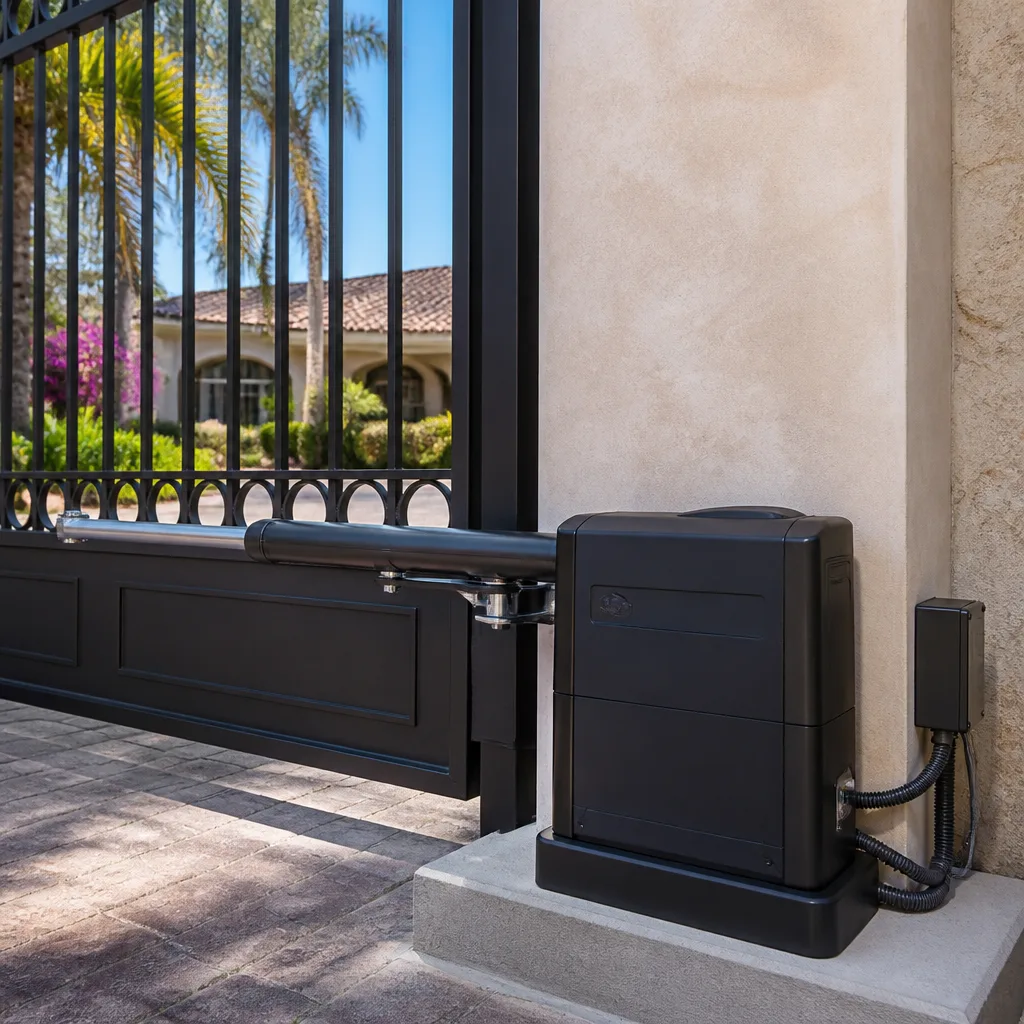 LiftMaster operators
Free on-site gate assessment - hinges, posts, and your LiftMaster or Nice gate operator checked before anything is quoted
The assessment is free and the quote is the invoice.
Get your free estimateSeasonal Gate Repair Care for Orlando: Year-Round Homeowner’s Guide
Orlando doesn’t follow the same seasonal rules as the rest of the country. We don’t get leaf-fall shutdowns or snow-load failures, so most generic “gate maintenance” advice misses what actually happens here. What we get instead is a wet season that floods control boards, a dry season that quietly pulls steel posts out of alignment, hurricane prep windows that demand a specific manual-operate procedure, and a handful of cold snaps that catch subtropical hardware completely off guard. Each one stresses your gate in a different way, and each one has its own checklist. This guide walks through all four phases, in order, with the checks we run on our own Gate Repair services calls across Orlando. By the end, you’ll know what to look at each month, what to leave alone, and when a phone call beats a wrench.
Styles & brands we work with
Quick Answer
Seasonal gate care in Orlando means running four distinct maintenance checks each year: a wet-season drainage and roller check from June through September, a hurricane-prep disengagement and securement protocol before any named storm, a dry-season alignment and contraction check every November, and a cold-snap lubrication check when temperatures dip below 40°F. Most owners can handle the visual inspections in about 20 minutes per season. The repairs those inspections uncover, especially anything involving torsion springs or high-tension cables, should go to a trained technician rather than a DIY fix.
Table of Contents
- The Wet Season (June – September): Standing Water, Rollers, and Footings
- Hurricane Prep Protocol: Disengaging and Securing an Automated Gate Before a Named Storm
- The Dry Season (November – April): Contraction, Alignment, and Out-of-Plumb Posts
- Florida Cold Snaps: Lubricant Thickening and Freeze Binding
- The Spring Transition (Late April): Why It’s the Best Inspection Window
- Monthly Checks That Take 10 Minutes and Prevent Most Orlando Gate Failures
- Common Mistakes to Avoid
- When to Call a Professional
- Frequently Asked Questions
- The Bottom Line
The Wet Season (June – September): Standing Water, Rollers, and Footings
From June through September, Orlando gets between 7 and 8 inches of rain per month on average, most of it in afternoon downpours that drop an inch or more in under an hour. That volume of water does two things to a gate: it pools around the bottom track and roller plates on slide gates, and it saturates the soil around the gate posts on swing gates. Over a single summer, a gate that ran quietly in March can develop a grinding sound in August, and the cause is rarely the motor. It’s usually water-related wear on the parts that touch the ground.
The component most affected is the bottom roller assembly on a slide gate. Slide gates ride on steel or nylon rollers bolted to the gate frame, and those rollers sit in the lowest point of the track. When water pools there, the rollers sit in standing water for hours after each storm. The bearings inside the rollers are sealed, but the seals degrade over time, especially once grit from the track works its way in. We’ve replaced slide gate rollers in the Baldwin Park and Conway areas that looked fine from the outside but had bearings ground down to powder inside. The telltale sign is a gate that moves in short jerks instead of one smooth motion, or a scraping sound that gets worse in the morning after overnight rain.
How to Check for Standing-Water Damage
- Look at the track after a heavy rain. If water is still sitting in the track 30 minutes after the rain stops, the track drainage isn’t working. Sand, leaves, and decomposed pine needles from Orlando’s oak trees clog the weep holes along the track base.
- Run the gate with your eyes on the bottom rollers. The gate should move in one continuous glide. If the rollers skip, chatter, or the gate hesitates at the same spot every time, the roller bearings are shot.
- Inspect the concrete pad under the gate’s travel path. Look for hairline cracks that have widened since spring, especially near the gate posts themselves.
- Check the gate posts for any visible lean. Use the edge of the gate itself as a reference. If the gap between gate and post is wider at the top than the bottom, the post has begun to shift in saturated soil.
Concrete footings in Orlando’s sandy, fast-draining soil are more stable than the clay-heavy soils you find further north, but that’s not the whole story. The issue here is erosion. Heavy rain against a fence line or along a driveway slope can wash away the top few inches of soil around a gate post, exposing the concrete footing and reducing the lateral support that keeps the post from leaning. A post that’s out of plumb by even half an inch at the top places unequal load on the gate hinges. That uneven load accelerates wear on the hinge bearings and, on automated gates, forces the actuator, which is the motorized arm that physically pushes the gate open, to work harder every cycle. The actuator burns out sooner, not because the motor was faulty, but because the gate was fighting alignment all summer.
If you find standing water, the fix is usually simple: clear the weep holes in the track with a thin screwdriver or piece of wire, then flush the track with a garden hose. If the track sits below the surrounding grade, regrading a small channel so water runs away from the track is the long-term solution. If you find roller damage or post lean, that’s a repair call. Neither fixes itself.
Hurricane Prep Protocol: Disengaging and Securing an Automated Gate Before a Named Storm
When a named storm enters the Gulf or tracks toward the Atlantic coast, Orlando homeowners start boarding windows and filling sandbags. Most skip the gate. That’s a mistake, and not a small one. An automated gate left engaged during a hurricane takes the full force of the wind on its largest surface area, the gate leaf itself, and transfers that force directly through the actuator and into the gate frame. The actuator isn’t designed to hold the gate against 70 mph gusts when the gate is moving. The gate is designed to open and close under normal conditions. Wind load is an entirely different stress.
What happens in practice is this: the wind pushes the gate hard enough to strip the gears inside the actuator, or the gate’s own momentum from a gust slams it against the physical stops at the end of its travel, bending the gate frame or breaking the limit switch. Either failure leaves the gate stuck partway open, which becomes a security problem in its own right after the storm passes.
The correct approach before a named storm is to disengage the automated drive and secure the gate manually so it can’t move. This isn’t complicated, but it does need to be done in the right order.
Hurricane Prep Procedure for Automated Gates
- Cycle the gate open fully. If the gate has a swing-leaf design, open both leaves as wide as they go. If it’s a slide gate, run it to the fully open position.
- Disengage the actuator. Most LiftMaster and DoorKing operators have a manual release handle or pull chain near the actuator body. Pull the release until you feel a distinct click. The gate should now move freely by hand.
- Move the gate manually to the position that leaves it closest to its support posts. For swing gates, this usually means leaving the leaves open against the fence line where they’re partially sheltered from direct wind. For slide gates, run the gate fully open or fully closed whichever position leaves the least surface area exposed to the prevailing wind.
- Secure the gate leaves so they cannot swing or slide. Use a heavy-duty strap or chain around the gate leaf and the nearest structural post. Do not rely on the actuator’s internal brake even if it’s a magnetic brake model. The brake is not designed to hold against sustained hurricane-force wind.
- Switch off the main power to the gate operator at the breaker or disconnect switch. This prevents the gate from attempting to auto-close while the actuator is disengaged, which would burn out the motor trying to run against the manual release.
- After the storm passes, reverse the procedure. Reconnect power first, re-engage the actuator, then test the gate’s full open and close cycle while watching for any new binding or hesitation.
You should not skip the disengagement step even if your gate is short, solid, or tucked behind a fence line. One of the most common post-storm calls we get in the Lake Nona and Windermere areas is a gate that worked fine on Monday, rode through a Tuesday storm, and won’t move on Wednesday. The wind forced the gate against the stops, bent the stop bracket or the gate frame at that contact point, and now the gate binds every time it reaches that spot in its travel. The damage from a storm pushing an engaged gate is almost always more expensive than the 15 minutes it takes to disengage it beforehand.
For more on what storm damage looks like and how to assess it after the fact, see our electric gate repair in Orlando page. The short version: if the gate was left engaged during a direct wind hit, assume the actuator’s internal gear train took a shock load and have it inspected before it fails again mid-cycle.
The Dry Season (November – April): Contraction, Alignment, and Out-of-Plumb Posts
The dry season from November through April is when most Orlando homeowners ignore their gates entirely, which is understandable. The rain stops, the humidity drops, and the gate isn’t sitting in water anymore. But this is also the season when aluminum and steel contract enough to throw off alignment that was perfectly fine all summer.
The physics here is straightforward. Steel expands when it’s hot and contracts when it’s cool. Orlando’s summer temperatures routinely push 90°F and above, and the metal in a gate exposed to direct sun can reach 130°F or more on the surface. When the November air drops into the 60s and 70s, the same metal shrinks. For a 12-foot swing gate, that contraction can be a sixteenth of an inch or more across the length of the leaf, and that’s enough to change the gap between the gate edge and the post. If the gate was installed with tight clearances in June, the same gate in January may rub against the post or the latch side.
The alignment check we run every November on swing gates with steel posts is simple to describe and worth doing once a year.
November Alignment Check for Swing Gates
- Open the gate fully and stand back 10 feet. Look at the gate leaf against the fence line. The top and bottom rails should run parallel to the ground. If the gate visibly sags toward the latch side, the leaf has dropped, which often happens as the dry season contracts the hinge-side post and allows the gate to settle.
- Close the gate and check the latch engagement. The latch bolt should enter the receiver cleanly. If the gate now has to be lifted slightly at the handle end to get the latch to engage, the alignment has shifted since summer.
- Measure the gap at the top and bottom of the latch-side post. Use your fingers as a rough gauge. The gap should be the same top and bottom. If the gap at the bottom is wider, the gate is sagging. If the gap at the top is wider, the post is leaning outward.
- Push the gate gently at mid-height, perpendicular to its face. The gate should feel solid. Any give in the hinge mounting means the screws or bolts holding the hinges to the post have worked loose during the contraction period.
What “out of plumb” looks like to an untrained eye is not always obvious. A gate post that has drifted out of vertical often reads to a homeowner as a gate that “sags” or a latch that’s “getting stubborn.” The real issue is the post itself, not the gate leaf. You can confirm it with a simple check: hold a level against the post on the hinge side and the latch side. If the bubble is off-center on either post, the post has shifted. In Orlando, the usual cause is a combination of dry-season soil settlement and the slow creep of a post that was never set deep enough in the first place. We see it most often in gates installed by handyman services or as part of a fence package where the gate posts got the same depth as the line posts, which isn’t enough for a moving gate.
For a full breakdown of what’s involved in correcting alignment or replacing a shifted post, see our Gate Repair in Orlando page. The important thing in November is to find the problem before the gate’s own weight finishes the job and the hinge bolts tear out of the post entirely.
Florida Cold Snaps: Lubricant Thickening and Freeze Binding
Orlando gets maybe three or four nights a year below 40°F, and a hard freeze only once every couple of winters. That’s not enough cold to worry about frost heave or frozen ground, but it is enough to cause a specific failure that catches people off guard: the grease and oil used on gate hardware thickens in the cold, and the gate binds.
Most gate lubricants sold in Florida hardware stores are general-purpose white lithium grease or petroleum-based spray lubes. They work fine at 80°F. Below 40°F, some of them thicken to a consistency closer to cold peanut butter than oil. The result is a gate that runs noticeably slower on the first cycle of a cold morning, or an actuator that draws higher current and trips its internal overload. When a customer tells us “the gate doesn’t work when it’s cold, but it warms up and then it’s fine,” the diagnosis is almost always lubricant-related.
The one component most likely to bind after an overnight freeze in Orlando is the manual release mechanism on the actuator itself. On LiftMaster and Mighty Mule operators, the release handle connects to a small gear pin or lock-out mechanism inside the operator housing. That mechanism is lightly greased at the factory, and after a few Central Florida summers, the factory grease has either collected dust or washed out during the wet season. When a cold front drops the temperature, the remaining grease stiffens, and the release handle becomes stiff or refuses to pull at all. The fix is to clean the release mechanism and re-lubricate it with a synthetic lubricant rated for low temperatures. We use a synthetic PTFE-based grease on all moving parts, which stays fluid down to well below freezing and doesn’t attract grit the way heavy lithium grease does.
If you’re doing this yourself, the rule is: clean before you lubricate. Wipe the old grease off the hinges, the roller axles, and the release mechanism with a rag and a mild degreaser, then apply a light synthetic lubricant. Don’t spray heavy grease onto the gate track itself, because the grease will collect sand and turn into grinding paste the next time the gate runs. The track should be dry and clean. Lubricate only the hinge pins, the roller bearings, and the actuator release parts.
For automated gates, the cold-snap concern extends to the control board as well. Some older boards don’t handle the voltage sag that comes when the operator draws more current on a cold morning, and the gate’s limit switch may trigger early or not at all. If your gate opens halfway and stops with no obvious cause on a cold morning, then works fine when it warms up, it’s worth asking a technician about the board and the limit switch rather than just replacing the lubricant and hoping the problem goes away.
The Spring Transition (Late April): Why It’s the Best Inspection Window
Late April is the single best time to schedule a full gate inspection in Orlando. The reason has nothing to do with calendar seasons and everything to do with what happens in the six weeks afterward. By the time the calendar hits May, the dry season is ending. The afternoons start building into the thunderstorm pattern, the humidity climbs back toward summer levels, and the gate is about to enter its highest-stress period of the year. An inspection in late April finds problems while they’re still small, before four months of afternoon downpours and 90-degree heat turn a minor alignment issue into a failed actuator or a seized roller.
We run this inspection ourselves every April for customers on a maintenance schedule, and the list hasn’t changed much in the years we’ve been doing it. What changes is what we find, because each Orlando neighborhood has its own pattern of wear. In the older neighborhoods like College Park and Audubon Park, where many gates date back 15 years or more, the common finding is worn hinge bushings and tired actuators on their second or third life cycle. In the newer developments around Horizon West and Lake Nona, where gates are newer but also tend to be larger and heavier, the common finding is under-specified posts that have already begun to lean, or solar-powered operator panels that aren’t getting enough direct sun because of fast-growing oak canopies.
What a Full April Inspection Covers
- Post alignment measured in both directions, with the gate in the open and closed positions.
- Actuator and operator health, including cycle testing, limit switch function, and a check of the operator’s current draw under load.
- Electrical connections, including wire nuts, terminal blocks, and any exposed low-voltage wiring that summer rain might reach.
- Wear parts, including rollers, hinge bushings, wheels, and the manual release mechanism.
- Safety edge and auto-reverse function, which matters more than most people think. These are the sensors that stop and reverse the gate if something, or someone, is in the way.
- Drainage around the track and posts, before the wet season returns and tests it all.
For owners who want to handle some of this themselves, the Portcullis Gate Repair Orlando home page links to our seasonal checklists. For everyone else, the inspection is a scheduled service call, and the written report that comes with it tells you exactly what needs attention now versus what can wait another year. That distinction matters. We don’t recommend replacing parts that are still within service life, because a good inspection tells you what you don’t need to do as often as it tells you what you do.
Monthly Checks That Take 10 Minutes and Prevent Most Orlando Gate Failures
The seasonal protocols above catch the big stuff. The monthly checks catch the slow stuff, the kind of gradual deterioration that doesn’t announce itself until the gate stops moving on the morning you’re already late. None of these take more than a couple of minutes each, and together they cover about 80 percent of the failures we see on service calls across Orlando.
- Run the gate through one full cycle and listen. The gate should sound the same as last month. A new grinding sound, a new hesitation, or a new squeak is the earliest warning you’ll get.
- Look at the track and clear it. Remove leaves, pine needles, sand, and any debris that has collected since last month. This is especially important under live oaks, which shed something year-round in Orlando.
- Check the gate’s safety edges and photo-eye sensors. Wipe the photo-eye lenses with a dry cloth. Confirm the safety edge, which is the pressure-sensitive strip along the gate’s leading edge that reverses the gate on contact, still reverses the gate when you press it.
- Test the manual release. Pull the release handle once to confirm it operates smoothly, then re-engage it. If the handle is stiff, clean and lubricate it before the next cold snap makes it worse.
- Look under the operator cover. Check for ants, which are drawn to the warmth of the transformer and circuit board and cause far more control board failures in Florida than electrical surges do. We see ant colonies inside operator housings in every part of Orlando from Dr. Phillips to Waterford Lakes.
- Check the gate posts for new cracks in the surrounding concrete or soil. A new crack at the base of a gate post in October is a structural warning, not a cosmetic flaw.
Ten minutes a month is all this takes. The alternative is discovering a gate failure after the fact, when the gate is stuck open or closed and the repair needs to happen on the same day because the gate is the only thing securing the driveway. Most of the emergency calls we get in Orlando could have been prevented by one of these monthly checks, which is worth remembering the next time the gate stops moving and the invoice is what it is because the failure happened at 10 p.m.
Common Mistakes to Avoid
- Greasing the track. The track should be dry. Grease on a slide-gate track collects sand, and sand plus grease equals grinding compound. We see this on gates near Orlando’s sandier neighborhoods, where the soil itself is a contributor.
- Skipping the hurricane disengagement. An engaged automated gate in sustained wind is a sail attached to a gearbox. The disengagement procedure takes 15 minutes. The repair it prevents usually starts around $400 and goes up from there, before you factor in the parts that need ordering.
- Lubricating instead of cleaning first. Applying new grease over old, grit-laden grease traps the grit against the bearing surface. The old grease has to come off first or the new grease makes things worse.
- Tightening hinge bolts without checking the post underneath. If the post has shifted, tightening the hinge bolts just moves the stress to a different point on the same failing structure. The fix that matters is correcting the post alignment, not over-torquing the hardware.
- Leaving the gate disengaged after a storm. Once the storm passes, the gate needs to be re-engaged. A disengaged gate looks closed but can be pushed open with one hand, which defeats the purpose of having a gate at all. After the worst storms, we get calls from Orlando homeowners who discover their gate has been standing open for days because the actuator was never re-engaged.
- Ignoring a stiff manual release because “the gate still works.” The release mechanism is the part you’ll need most in an emergency. When it seizes completely, which tends to happen during the cold snap that also knocks out power, you may not be able to open the gate at all without a technician.
- Replacing a battery in a solar operator without checking the panel first. In Orlando’s canopy neighborhoods, the battery usually isn’t the problem. The panel is shaded by an oak that grew three feet since the operator was installed. The fix is relocating the panel or trimming the canopy, not a new battery every six months.
When to Call a Professional
Most of the checks in this guide are safe for any homeowner to perform, because they’re visual inspections or simple manual operations. The line where DIY becomes risky is the moment the work involves high-tension parts: torsion springs, counterbalance springs, or any cable under load. A gate spring that lets go under tension releases a lot of stored energy very quickly, and it can cause serious injury. The same applies to any repair that requires removing an actuator from its mount while the gate is still under spring tension. If a spring is broken, if a cable is frayed, or if the gate is binding and you can’t see the cause, that’s a professional call, not a weekend project.
Portcullis Gate Repair Orlando offers free estimates in Orlando, and every one comes with a written price before any work starts. If the issue is a broken spring, a seized release mechanism, a post that’s visibly leaning, or an operator that’s stopped responding entirely, call (850) 816-3017 and we’ll schedule a real arrival window. The Kingswell Guarantee applies to every repair we do: written price, real arrival window, clean job site, and a written guarantee on the repair, backed by the 365-Day Done Right Promise.
Frequently Asked Questions
Gate repair in Orlando typically runs $180 to $500 for most common fixes, with slide-gate roller replacements on the lower end and actuator replacements on the higher end. Full actuator swaps on swing gates generally fall between $350 and $900 parts and labor, depending on the brand and the gate’s weight. Every job we do is quoted in writing before any work begins, so the price you approve is the price you pay. Call (850) 816-3017 for an exact quote, estimates are free.
Yes, we answer the phone around the clock and keep same-day availability for gate failures that leave a property unsecured. If the gate is stuck open and you need it closed before you leave for work, call (850) 816-3017 and we’ll give you a real arrival window, not a four-hour range with a no-show at the end of it.
A full gate installation includes the gate itself, the posts and footings, the hinges or track system, the operator if it’s automated, the safety edges and photo-eye sensors, and the electrical wiring to power the operator. We also handle the power run from your panel to the gate, including the conduit and the disconnect switch. See our Gate Installation in Orlando page for the details on what’s involved at each step of the process.
Yes, both. The power run is done to code with conduit, a disconnect switch, and proper grounding, and the safety edges and photo-eye sensors are installed, aligned, and tested as part of every automated gate installation or repair. We don’t leave a gate operating without its safety reversal systems working, because that’s a liability no property owner should carry.
We service LiftMaster, FAAC, BFT, Linear, Viking, Ghost Controls, DoorKing, Elite, and Mighty Mule operator systems. The benefit of that coverage in Orlando is that the technician who arrives already knows the specific operator on your gate, rather than learning on the job with your driveway as the training ground. LiftMaster and DoorKing are the two we see most often on residential properties in the area.
Disengage the actuator, open or close the gate to the position that minimizes its wind exposure, secure the leaf or leaves to the nearest structural post with a heavy strap or chain, and switch off the power at the breaker or disconnect. Re-engage everything after the storm passes. If the gate was left engaged and took a wind hit, have the actuator and the gate frame inspected before it fails again mid-cycle. Call (850) 816-3017 if you want a technician to walk you through the protocol on your specific gate.
The Bottom Line
Orlando’s gate problems follow the local weather pattern, not the traditional four-season calendar. The wet season attacks rollers and footings. Hurricane season attacks actuators and gate frames when the gate is left engaged. The dry season shifts alignment through contraction. The rare cold snap binds stiff lubricant and seized release mechanisms. And late April is the window to catch all of it before summer stress returns. Ten minutes a month and four seasonal checks a year cover most of what a gate needs in this climate, and you’ll find more guides & resources on our blog. The rest, the repairs that involve springs, cables, and post alignment, belongs to someone who does this work every day. If you’d rather have a second set of eyes on it, call Portcullis Gate Repair Orlando at (850) 816-3017 for a free estimate and a written price before any work starts.
Written by Dean Prescott, Owner at Portcullis Gate Repair Orlando, serving Orlando since 2008.
See the difference
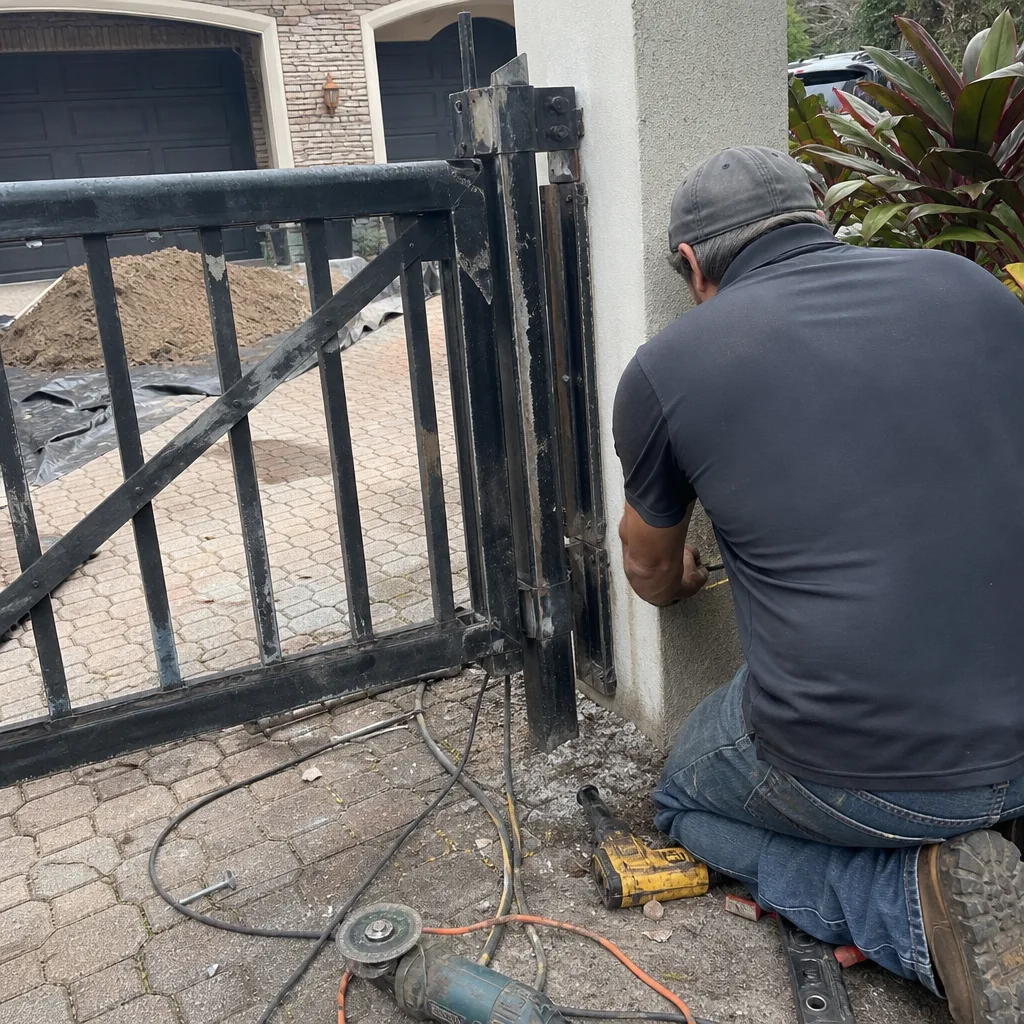 Before
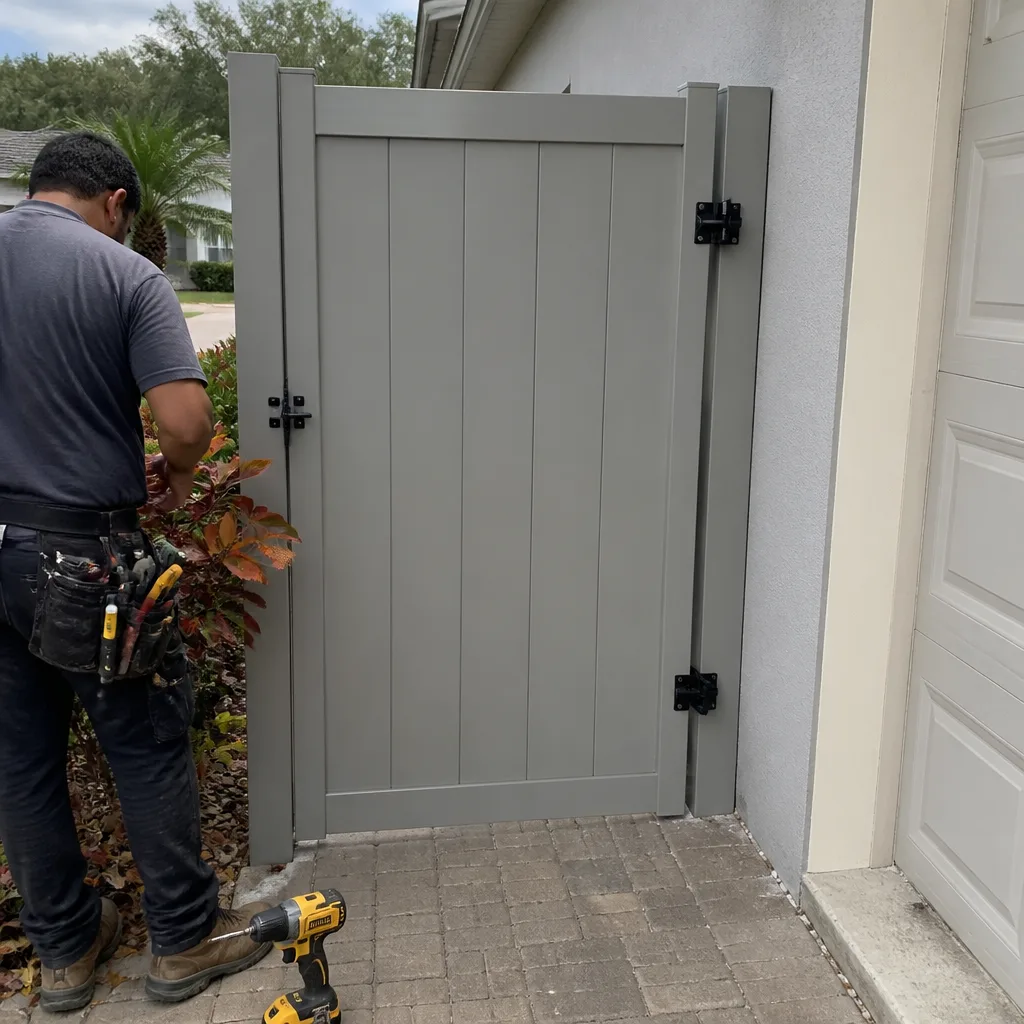 After
After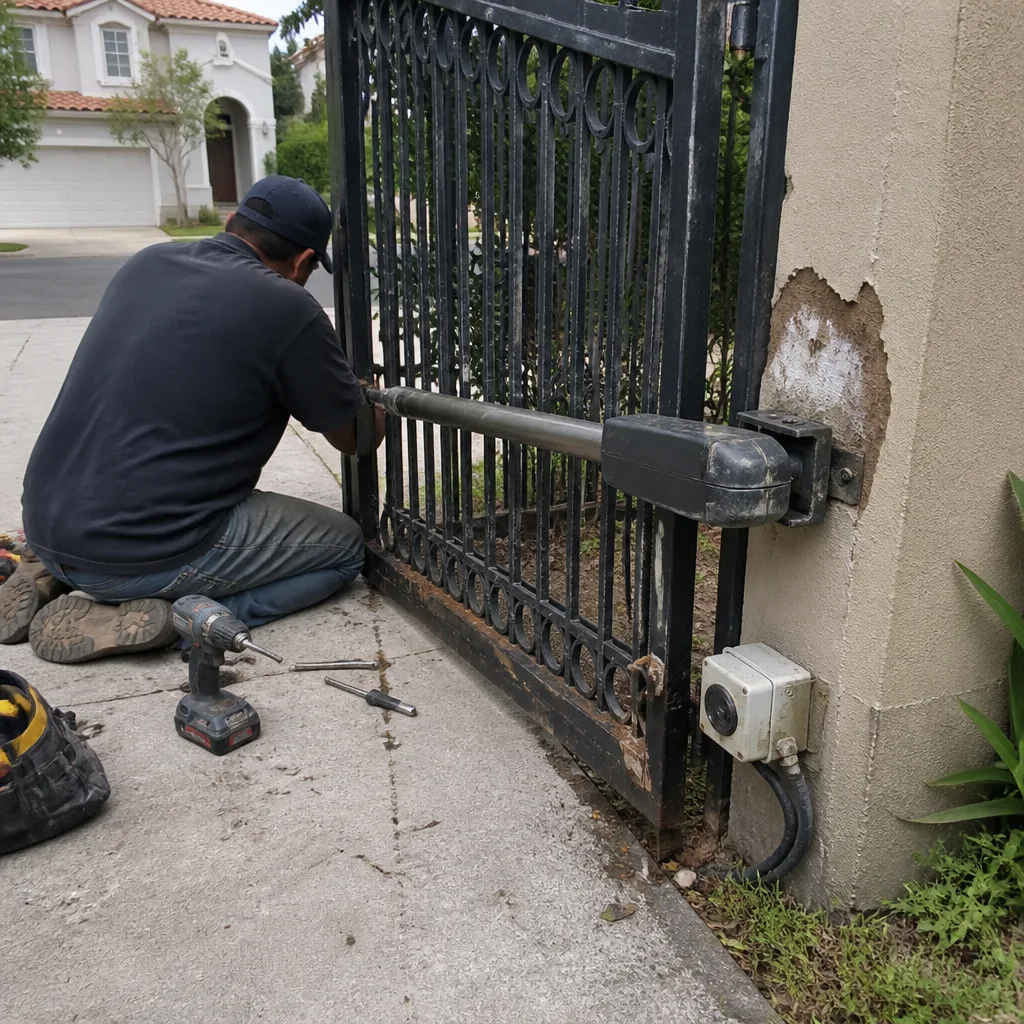 Before
 After
After Before
 After
After