
Last updated October 16, 2026
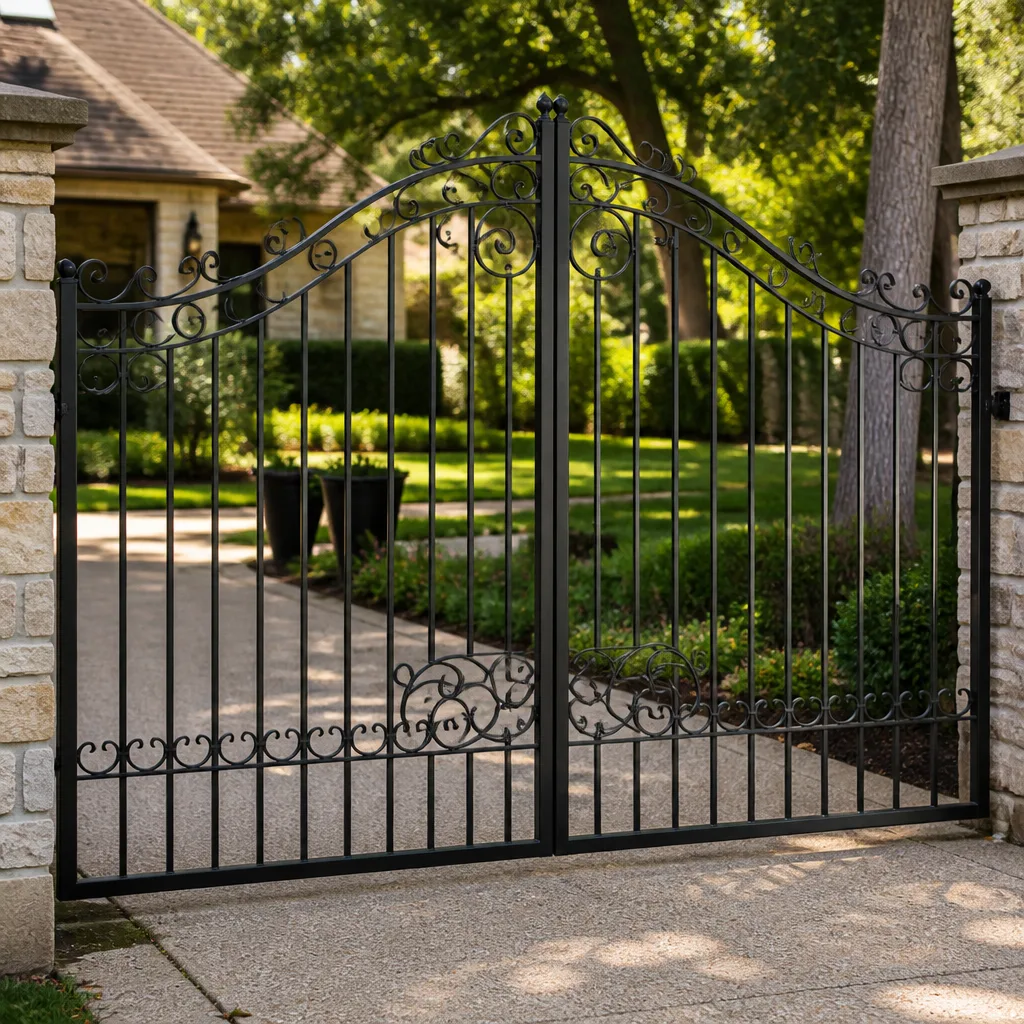 Wrought iron
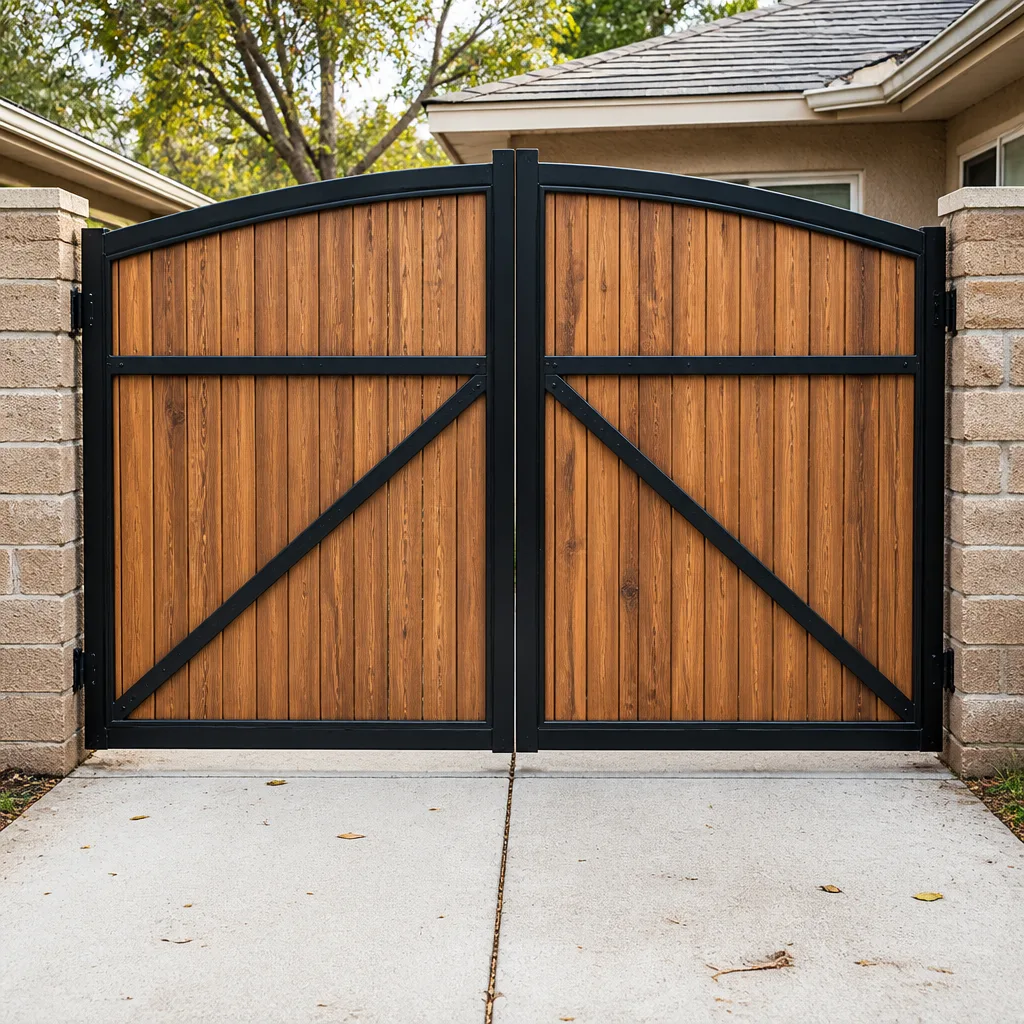 Wood & steel frame
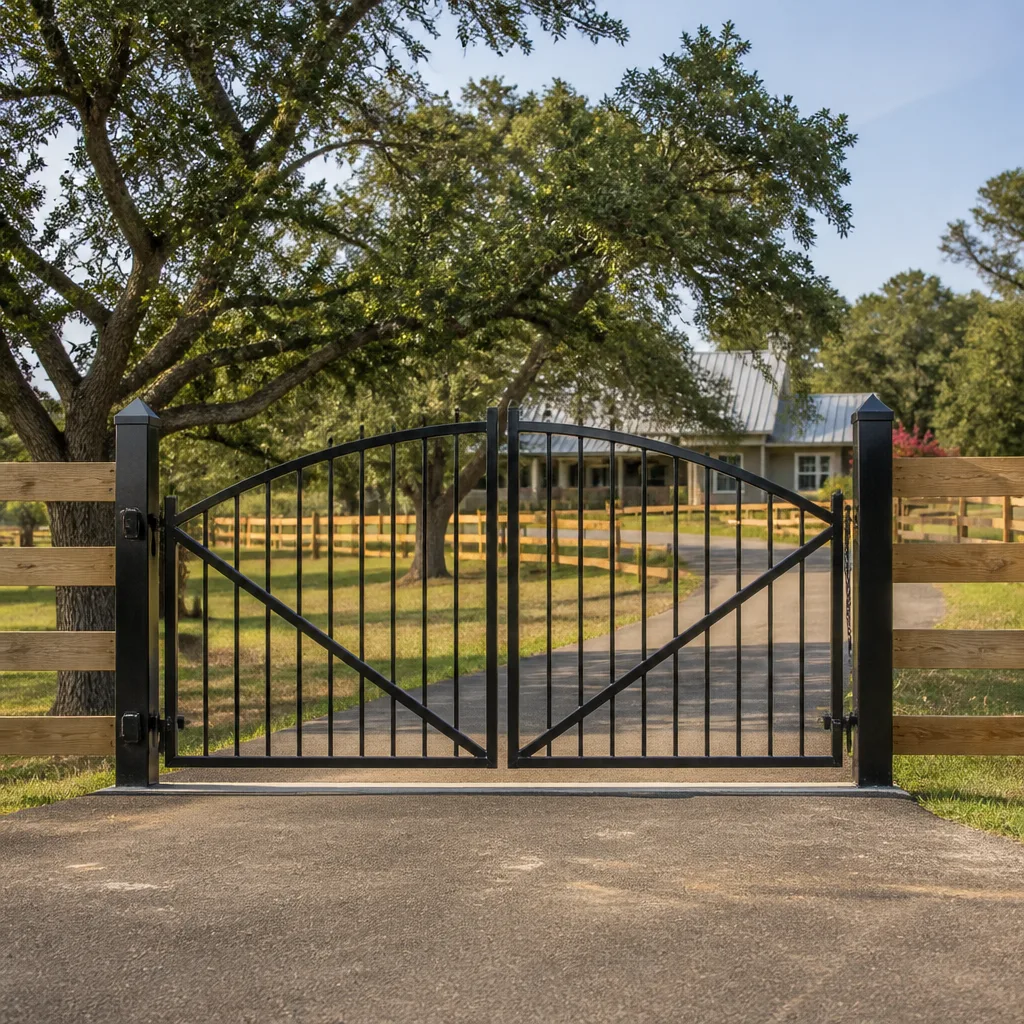 Farm & ranch
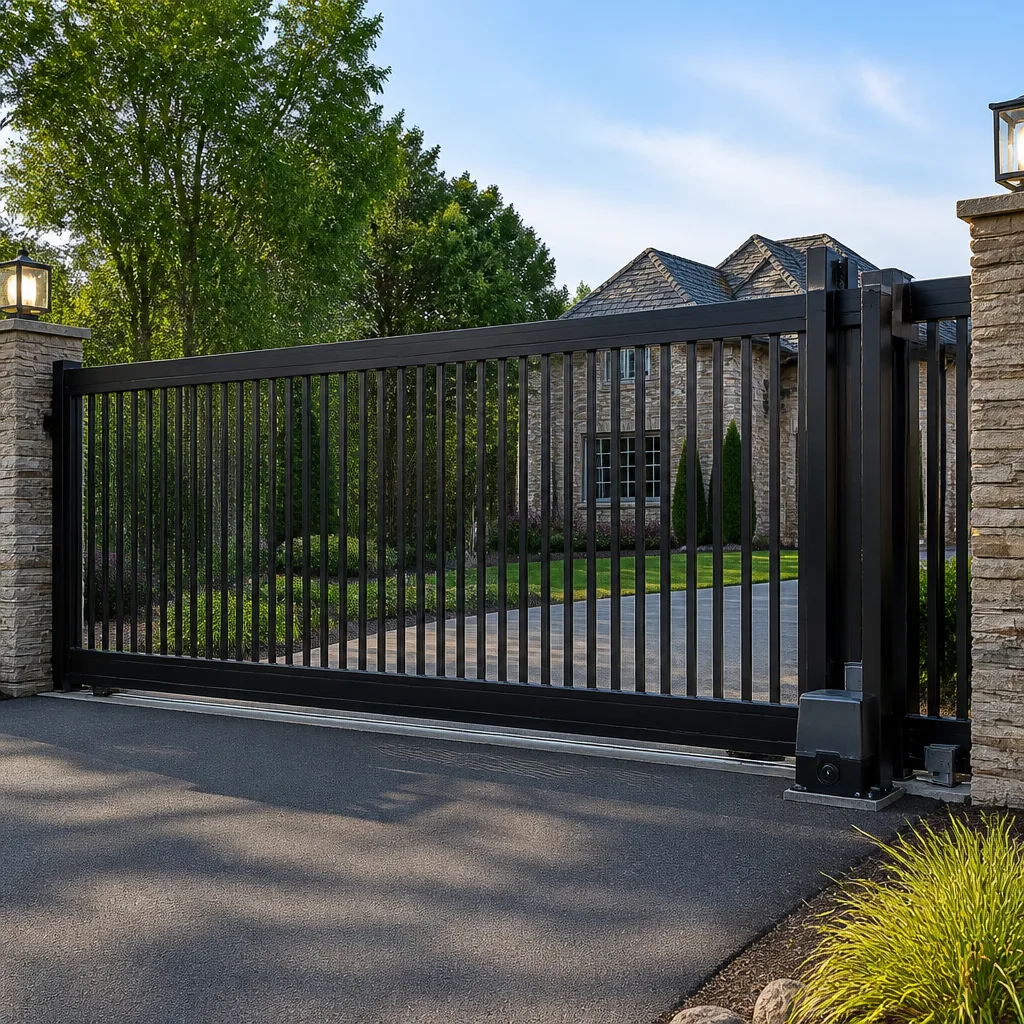 Sliding driveway gates
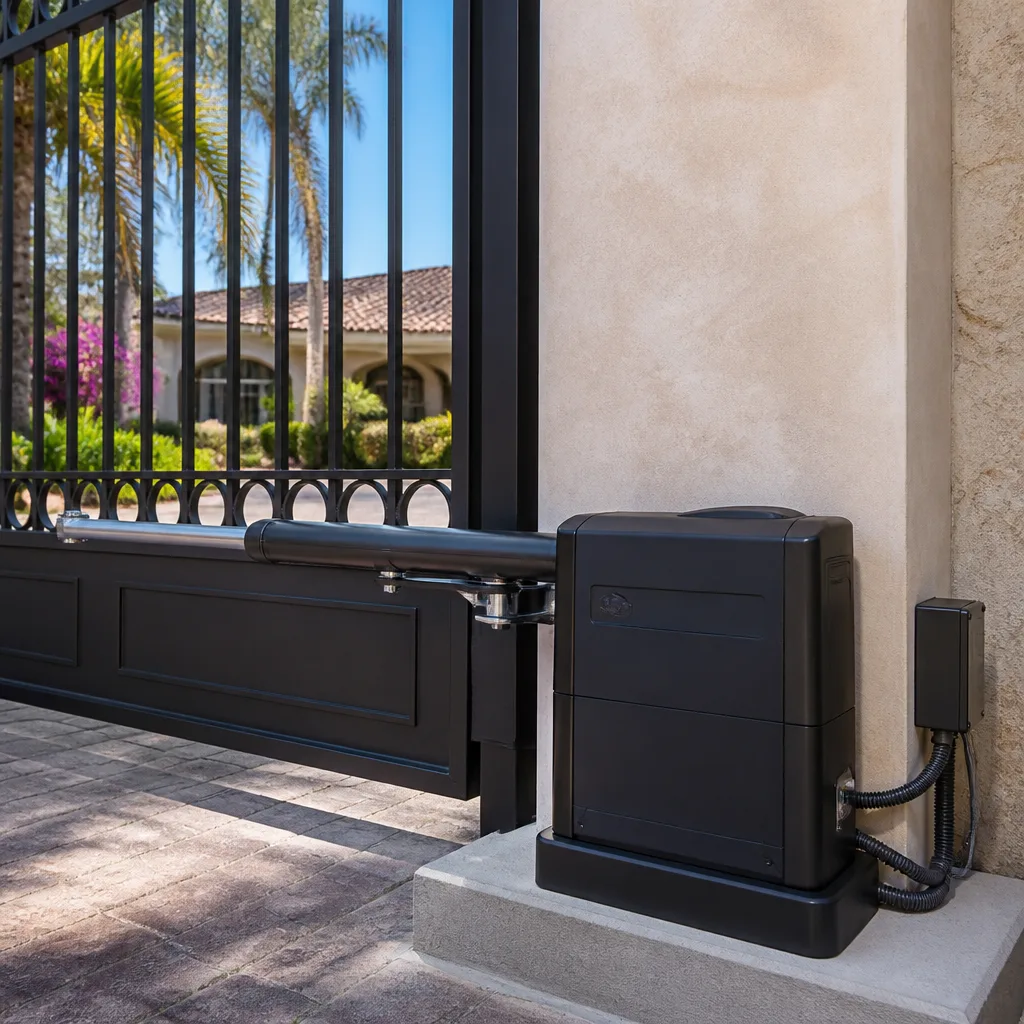 LiftMaster operators
Free on-site gate assessment - hinges, posts, and your LiftMaster or Nice gate operator checked before anything is quoted
The assessment is free and the quote is the invoice.
Get your free estimateGate Repair Maintenance Checklist for Orlando Homeowners
A fire ant colony can move into a residential gate control box in Central Florida in under three weeks, chew through low-voltage wiring, and trigger what looks like a dead operator, a blown board, or a sensor fault. We see it every spring and after every heavy summer rain cycle in Orlando. No generic maintenance checklist written for Phoenix or Atlanta warns you about that, because it simply doesn’t happen there. This guide is built around Orlando’s actual failure patterns: afternoon thunderstorms, UV breakdown of nylon and rubber parts, sandy soil shifting gate posts, and insects that treat a warm control box like beachfront real estate. Run through this checklist twice a year and you’ll catch the repairs that cost $150 before they become the ones that cost $1,500. For more guides & resources on Orlando gate care, explore our blog.
Styles & brands we work with
Quick Answer
A twice-yearly Orlando gate maintenance routine should cover ten tasks: cleaning and inspecting the track or hinges, lubricating moving parts with the correct product, testing the auto-reverse safety function, checking the battery backup, tightening hardware, clearing debris from the operator and photo-eye path, inspecting wiring for insect or moisture damage, verifying post alignment, testing remotes and keypads, and clearing vegetation from the gate’s full swing or slide path. Most of this takes under an hour for a knowledgeable homeowner. The three findings that mean stop and call a professional are: a failed safety reversal test, a gate that has visibly shifted off level, or any exposed or chewed wiring inside the operator housing.
Table of Contents
- Why Orlando Is Harder on Gates Than Most Cities
- The Swing Gate Checklist (Six Tasks)
- The Slide Gate Checklist (Six Tasks)
- Orlando Seasonal Triggers: When to Check What
- How to Test the Safety Reversal Yourself
- The Lubrication Chart: What Goes Where
- When a Maintenance Finding Crosses Into a Repair
- Common Mistakes to Avoid
- When to Call a Professional
- Frequently Asked Questions
- The Bottom Line
Why Orlando Is Harder on Gates Than Most Cities
Orlando sits in a subtropical climate with two distinct seasons that each attack gate hardware in their own way. From June through September, afternoon thunderstorms dump an inch or more of rain in under an hour, often followed by 95-degree sun that bakes moisture into every seam, seal, and connection. From October through May, the dry season brings lower humidity but wide temperature swings between day and night, which makes metal components expand and contract repeatedly. That cycle loosens bolts, cracks weld points on steel frames, and accelerates wear on any rubber or nylon part.
Then there’s the biological layer. Fire ants, as mentioned, are the single most overlooked gate problem in Central Florida. They nest inside operator housings, keypads, and underground conduit, and their activity is not covered by any equipment warranty we’ve ever seen. Add in sandy soil that shifts under slab-mounted posts, live oaks dropping acorns and leaves into tracks, and irrigation overspray hitting gate columns every other morning, and you have a maintenance environment that looks nothing like a dry southwestern city.
Our point is not that Orlando gates fail more often than gates elsewhere. It’s that they fail in specific, predictable ways, and a checklist that doesn’t account for those ways leaves money on the table. The Portcullis Gate Repair Orlando home team has serviced gates across Orange, Seminole, and Osceola counties since 2008, and the maintenance findings we see repeat by neighborhood and by season.
The Swing Gate Checklist (Six Tasks)
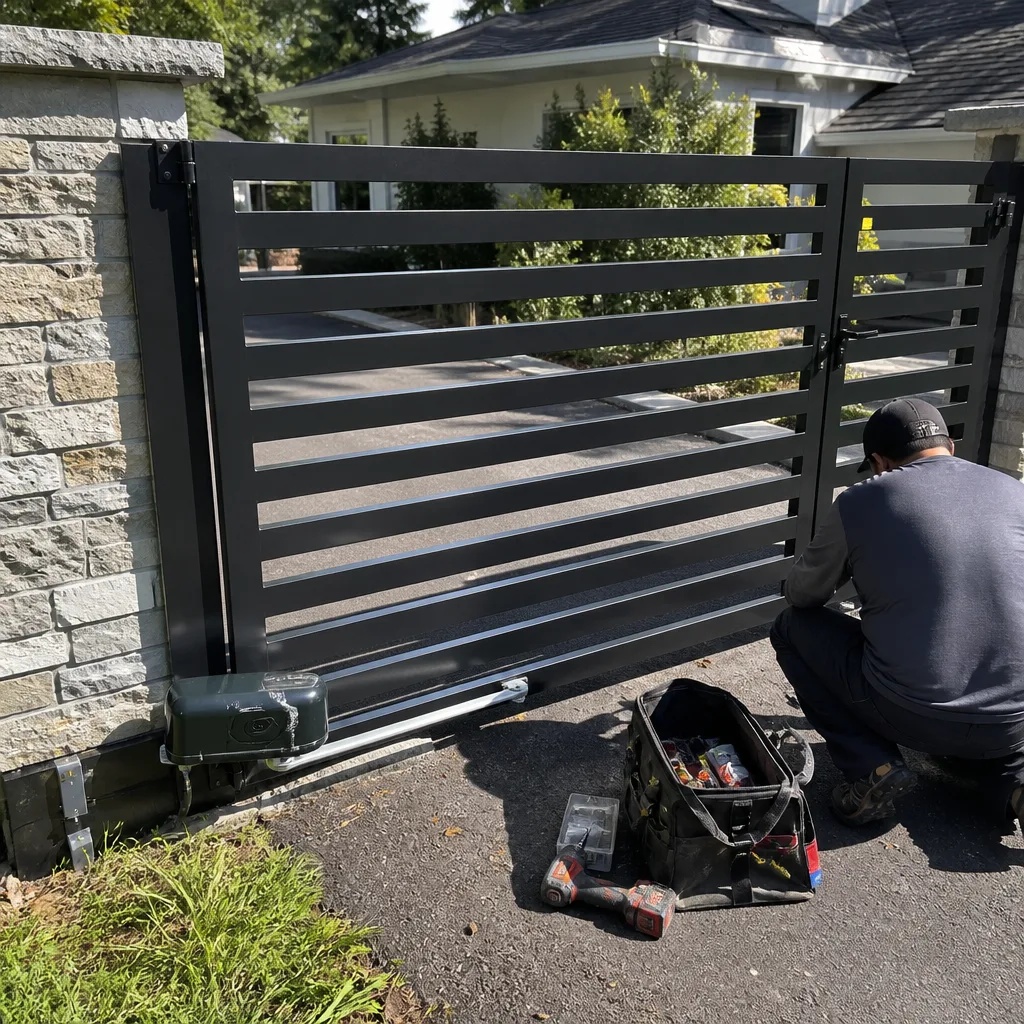
Swing gates are the most common residential gate type in Orlando’s established neighborhoods: Baldwin Park, College Park, Winter Park, Conway, and Dr. Phillips all have thousands of them. A swing gate pivots on two hinges, usually mounted to a column, a post, or a brick pillar. Every task below assumes a standard single or double swing gate with either a linear arm actuator, an underground operator, or a ram-style opener.
Task 1: Clear the Swing Path and Check Pivot Points (10 minutes)
- Open the gate fully and walk the entire arc it travels. Remove sticks, mulch, pine needles, and any vegetation touching the gate’s bottom edge.
In Orlando, St. Augustine grass grows aggressively in summer and often encroaches on the gate path within weeks. - Inspect both hinge bolts. Grab the gate at the latch end and lift. Any movement at the hinge means the hinge pin or the weld is failing.
- Look at the gate’s top and bottom clearance. It should be even from hinge to latch. A gate sagging more than a quarter inch on the latch side is telling you the hinges or the post are failing, not that the gate needs a push.
Task 2: Check Frame and Weld Condition (5 minutes)
- Walk around both sides of the gate. Look for rust bloom, especially at welded joints and bottom rails, which sit closest to sprinkler heads.
- Feel the finish. Powder coat that has gone chalky from UV exposure is no longer protecting the steel under it. Light surface rust can be sanded and touched up. Flaking rust that crumbles under light pressure means structural metal loss.
- Tap suspect areas with a screwdriver handle. A dull thud instead of a metallic ring often indicates rot from the inside, particularly on tubular steel frames.
Task 3: Inspect the Actuator and Mounting Brackets (10 minutes)
The actuator is the motorized arm that physically pushes the gate open and pulls it closed. It’s usually mounted low on the gate and the column. Check both mounting brackets for cracked welds, elongated bolt holes, or bolts backing out. Orlando’s daily expansion and contraction cycle works these bolts loose faster than you’d expect.
Look for oil weep or grease sling at the actuator’s seals. A dry actuator is fine. A weeping one is telling you the internal seals are going, and if it’s a hydraulic actuator, that’s a repair, not a maintenance item.
Task 4: Clean and Inspect Wiring (10 minutes)
- Open the control box. In Orlando, the most common thing you’ll find is fire ants. If you see them, do not spray insecticide into the control box. Most retail sprays are conductive and will short the board.
- Inspect low-voltage wiring for chew marks, cracked insulation, or green corrosion at terminals.
- Check that any gel-filled wire nuts or waterproof connectors are still intact. Orlando’s humidity reaches the inside of every control box, ants or not.
Task 5: Test the Operator Force and Cycle (5 minutes)
- Close the gate with the remote, then open it. Listen. A smooth hum is normal. Grinding, clicking, or a motor that sounds like it’s working harder than it used to be means something is binding.
- Watch the gate for hesitation at the halfway point. If it slows dramatically mid-travel, the hinges or the actuator mounting are likely misaligned.
Task 6: Check the Battery Backup (2 minutes)
Most Orlando gate operators installed after roughly 2012 have a battery backup in the control box or in a separate enclosure. Test it by killing the breaker to the gate, then cycling the gate once on battery. If it won’t move or moves slowly, the battery is due for replacement. In Orlando’s heat, backup batteries last three to five years, not the seven or eight you’ll see quoted elsewhere. The heat shortens their life significantly.
If you’re replacing a swing gate operator and want us to handle the full job, see Gate Installation in Orlando for what we include.
The Slide Gate Checklist (Six Tasks)
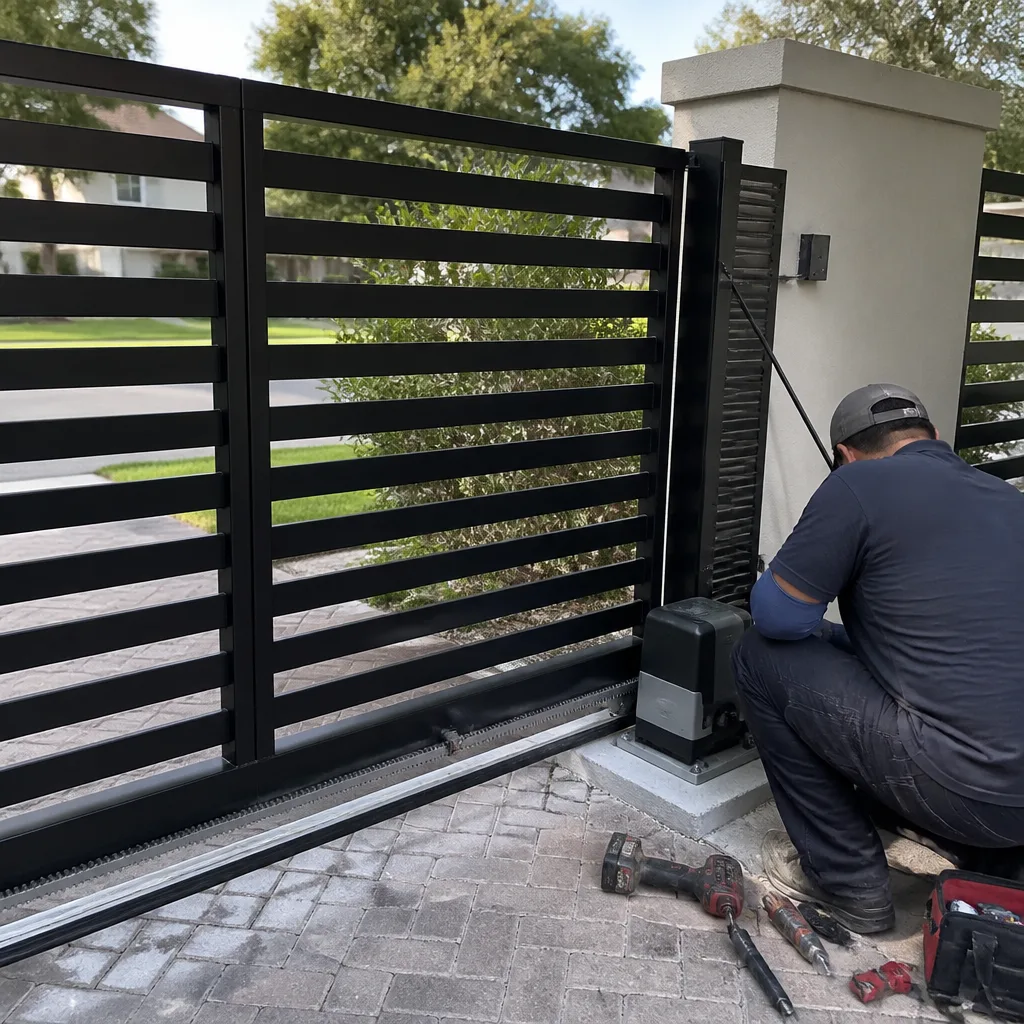
Slide gates dominate Orlando’s newer subdivisions, gated communities, and properties with limited driveway depth: Lake Nona, Windermere, Hunter’s Creek, and Horizon West are slide gate territory. A slide gate rides on two or more wheels along a metal track, or it’s a cantilever design that floats on rollers without touching the ground. The maintenance profile differs meaningfully from a swing gate.
Task 1: Clear the Track and Inspect the Wheels (15 minutes)
- Remove every piece of debris from the track channel: acorns, leaves, pine straw, gravel, dirt. In Orlando, live oak debris in October and November is the single biggest cause of track jams we see all year.
- Run your hand along the top edge of the track. A groove worn into the steel by the gate’s wheels means the wheels have flat spots and are dragging, not rolling.
- Check wheel bearings by lifting the gate slightly at each wheel location. Any side-to-side play means the bearing is shot.
Task 2: Inspect the Rack and Pinion (5 minutes)
The rack is the toothed bar bolted to the gate or mounted separately, and the pinion is the gear on the operator that drives it. Look for missing rack bolts, worn or hooked teeth, and debris packed between teeth. If the rack has shift sections, check the gap between sections. A rack that slips catches the pinion and stalls the gate, which is a classic Orlando slide gate failure after a heavy storm moves the gate slightly on its posts.
Task 3: Clear End Posts and Limit Switches (5 minutes)
Check the positive stops at both ends of the gate’s travel. They should be solid, not cracked, and the gate should contact them cleanly. If the gate hits the stop and bounces, the limit switch is misaligned or the operator’s force setting is wrong. A misaligned limit on a slide gate can overrun the stop and derail the gate entirely, which is a thousand-dollar repair when the gate winds up in a flower bed.
Task 4: Check the Cantilever Rollers (10 minutes, cantilever gates only)
Cantilever slide gates ride on rollers mounted inside the gate frame or on posts, with the gate suspended above the ground. The rollers carry the entire gate weight. Check each roller for flat spots, missing retainer clips, or bearing play. Orlando’s rain pushes fine sand into these bearings, and the result is a roller that seizes and then wears a flat on one side within weeks.
Task 5: Clean the Track Drains (5 minutes)
Most Orlando slide gate tracks have drain holes or channels. If they clog with sand and silt, standing water sits in the track after every afternoon storm and accelerates wheel and track wear. Clear all drain openings with a screwdriver or hose. This is a ten-minute task that almost no one does.
Task 6: Inspect the Chain or Belt (5 minutes, chain-drive operators only)
Check chain tension. You should be able to deflect the chain no more than half an inch at its midpoint. A loose chain will jump the sprocket and leave you with a gate stuck halfway open at 7 a.m. Also look for stiff links, rust, and caked grease that holds sand and grinds the chain from the inside.
If your slide gate has recurring problems that feel maintenance-related but keep coming back, see Gate Repair in Orlando for how we diagnose and fix them.
Orlando Seasonal Triggers: When to Check What
We run through the full checklist twice a year in Orlando, but the timing should match the city’s two real seasons, not the calendar. That means one pass in late May, right before the daily summer storm cycle begins, and one in late October, right after the first dry-season cold front moves through. Here’s what to prioritize at each pass.
Late May: Pre-Storm-Season Pass
- Lightning protection and grounding. Orlando averages about 80 thunderstorm days per year, and no other Florida city has more lightning strikes per square mile. Check that your operator’s ground wire is present and connected, and that any surge protector on the circuit is showing green. A gate that works fine but develops a fried board after every summer storm usually has a grounding or surge issue.
- Drainage around the operator and control box. Heavy afternoon rain needs somewhere to go. If water pools near the operator or the control box sits in a low spot, regrade or add a simple French drain. Water intrusion into the operator is the most preventable cause of failure we see during Orlando summers.
- Vegetation growth. Everything grows faster in May and June. Cut back anything near the gate, hinge, track, or photo-eye path.
- Photo-eye alignment. The photo-eye is the small sensor pair mounted near the ground that stops the gate if something crosses the beam. Summer storms knock them out of alignment constantly. If your gate stops mid-cycle and reverses for no reason, this is the first thing to check.
Late October: Post-Storm and Pre-Dry-Season Pass
- Metal contraction checks. The first sustained cooler nights, we’re talking below 60 degrees, cause gate frames, rails, and posts to contract. Bolts that were tight in July are loose in October. Run through every accessible bolt on the hinge, track, rack, and operator mount.
- Post-storm damage audit. Check for debris impact, shifted posts, and cracks that appeared after any hurricane or tropical system. Even a brush from a weakening storm can push a swing gate hard enough to crack a hinge weld.
- Battery backup assessment. If your battery didn’t hold a charge during summer’s heat, swap it now so it’s ready for winter power dips and outages.
- Dry-season dust and sand. When the rain stops, sand dries out and moves. It gets into tracks, bearings, and chain drives, acting as an abrasive. Clean and re-lubricate these parts before dry-season wear accelerates.
How to Test the Safety Reversal Yourself
Every automatic gate installed in Orlando after the UL 325 standard took effect is required to have a safety reversal system. That’s the function that detects an obstruction, usually a person or a car, and reverses the gate before it causes injury or damage. It works through two mechanisms: the photo-eye beam across the gate opening, and the operator’s built-in force sensing.
Testing both takes five minutes and requires no tools.
- Photo-eye test: Close the gate. Stand in the gate’s path and hold your hand or a piece of cardboard in front of one of the photo-eye lenses. Activate the gate. It should not move, or if moving, it should stop and reverse immediately. Remove the obstruction and test again.
- Force-sensing test: Close the gate. Place a 2×4 or a filled trash can (something that won’t be damaged) in the gate’s path. Activate the gate. It should contact the obstruction and reverse within two seconds. It should not try to push through the object.
- Test both directions. Run both tests with the gate opening and closing. Safety reversal must work in both directions.
A failed safety reversal test is not something to shrug off. For HOA-managed gates in Orlando, a gate with a non-functioning auto-reverse can expose the association to liability, and many Orlando HOAs now require regular safety testing with logged results as part of their insurance requirements. Under UL 325, the homeowner is responsible for maintaining the safety features of their gate system, even if the original installer set it up correctly. For details on local requirements, read Gate Repair Permits, Codes & Inspections in FL: What You Need to Know.
If your gate fails either test, stop using it in automatic mode and call a professional. Do not disable the photo-eye or remove the force-sensing limit to get the gate working again. That’s how people get hurt.
The Lubrication Chart: What Goes Where
Half of the gate lubrication we correct in Orlando is the result of someone using the wrong product in the right place, or the right product in a place that should never be lubricated at all. Here’s the chart we use ourselves.
| Component | Product to Use | How Often in Orlando | What NOT to Use |
|---|---|---|---|
| Swing hinge pins | White lithium grease, light coat | Every 6 months | WD-40, penetrating oil (washes out fast) |
| Slide gate wheels and bearings | White lithium grease or synthetic wheel bearing grease | Every 6 months | WD-40, motor oil (attracts sand) |
| Chain drive | Dry chain lube or light machine oil | Every 3-4 months | Heavy grease (holds grit, kills chains) |
| Rack and pinion teeth | Dry graphite spray or dry lube | Every 6 months | Grease, silicone spray (creates paste with sand) |
| Track channel | Nothing, keep it clean and dry | Clean as needed | Any lubricant (turns track into sand trap) |
| Rubber seals, gaskets, photo-eye boots | Food-grade silicone, very light | Every 12 months | Petroleum-based products, WD-40, Armor All |
| Keypad membrane and buttons | Nothing, wipe with damp cloth | As needed | Silicone, grease, cleaners (kill the membrane) |
The most common mistake we correct is WD-40 on chain drives and hinges. WD-40 is a water displacer, not a lubricant. It frees stuck parts, then evaporates and leaves the metal drier than before. On rubber seals, petroleum products cause swelling and cracking within months. Use food-grade silicone on anything rubber, or leave it alone. In Orlando’s sun, a properly maintained rubber seal lasts years. A petroleum-treated one cracks in one summer.
For gates with Linear, Viking, or Ghost Controls operators, the lubrication guidance is the same, but check your operator manual for any brand-specific notes before applying anything near the drive mechanism. If the manual is gone, err on the dry side: dry lube on teeth and chains, silicone on rubber, and nothing on tracks.
When a Maintenance Finding Crosses Into a Repair
Maintenance is what you do to prevent a failure. Repair is what you do once a component has already begun to fail. The line between them is clearer than most people realize, and crossing it without recognizing it is how a $150 hinge replacement becomes a $1,500 gate replacement.
Here are the three signals that mean stop and call a professional:
- The gate has shifted off level. A swing gate that scrapes the ground on the latch end, or a slide gate that rubs the track on one side, is telling you the hinge or the post has failed or the track has sunk. Continuing to operate it grinds the failure deeper every day. This is a structural repair, not a maintenance task.
- The safety reversal has failed. As covered above, this becomes a safety and liability issue immediately. A gate that failed a reversal test should not be operated automatically until it’s repaired.
- You find chewed, burned, or corroded wiring inside the operator housing. Wiring repair inside a gate operator involves low-voltage and often line-voltage connections. An incorrect splice can trip a breaker, fry a board, or create a shock hazard. This crosses into professional territory.
In our experience at Portcullis Gate Repair Orlando, the homeowners who run this checklist twice a year and call about the small findings early-whether for maintenance or our Gate Repair services-are the ones who get ten or fifteen years out of a gate. The ones who wait until the gate stops working are usually looking at a full operator replacement. The math is straightforward.
For more on the specific repairs we handle most in this market, see Electric Gate Repair in Orlando.
Common Mistakes to Avoid
- Lubricating the track. The track is not a moving part, the wheels are. Greasing a slide gate track in Orlando creates a slurry of grease and fine sand that wears wheels faster than running the gate dry. Keep the track clean and leave it un-lubricated.
- Using WD-40 as a general lubricant. WD-40 is a penetrant and water displacer, not a lasting lubricant. In Orlando humidity, parts treated with WD-40 are essentially dry metal within days of application.
- Postponing the safety reversal test because it’s inconvenient. The test takes five minutes. Not doing it means the first time you learn the auto-reverse has failed is when the gate hits your car or a family member.
- Ignoring ant activity in the control box. Fire ants in Orlando gate operators are not a cosmetic problem. They build soil tubes into terminal blocks, they chew low-voltage wiring, and their activity introduces moisture. If you see ants, handle it carefully and address the wiring damage they leave behind.
- Spraying insecticide into the control box. Many Orlando homeowners respond to ants by spraying bug spray directly into the operator. Many of those sprays contain conductive or corrosive ingredients that damage circuit boards and connectors. Ant-proofing is a physical barrier job, not a chemical one.
- Running the gate after it fails the reversal test. A gate that doesn’t reverse when it meets an obstruction is dangerous. The correct response is to stop using the gate in automatic mode and call for repair. Running it manually is fine. Running it automatically is not.
- Assuming the battery backup is fine because you haven’t had a power outage. In Orlando, backup batteries degrade in the heat whether they’re used or not. Test yours twice a year. A battery that’s three years old and untested is not a backup, it’s dead weight.
When to Call a Professional
We’ll be direct: if you’ve found a failed safety reversal, a gate that’s off level, or wiring damage inside the operator housing, the maintenance phase of that problem is over. These are repairs that require tools, training, and often replacement parts, and attempting them yourself can turn a contained failure into a much larger one. The same applies if your gate has a DoorKing, Linear, or Viking operator and you’re seeing error codes or behavior changes you can’t trace. Those systems store diagnostic information a qualified tech can read quickly.
Portcullis Gate Repair Orlando offers free estimates in Orlando, and every repair we do carries a written price before any work starts, plus the 365-Day Done Right Promise: if the repair fails within a year, we come back and correct it at no charge. Call (850) 816-3017 and a live person will answer, any time, any day.
Frequently Asked Questions
For a homeowner doing the work themselves, the cost is about $30 to $60 per year for white lithium grease, dry chain lube, food-grade silicone, and cleaning supplies. If you’d rather have a professional perform the maintenance, most Orlando gate companies charge between $150 and $350 per visit depending on gate type and what’s included. At Portcullis Gate Repair Orlando, we’ll give you a written price before any work starts, and estimates are free. Call (850) 816-3017 for an exact quote.
Twice a year: once in late May before the daily summer storm cycle begins, and once in late October when the dry season starts and metal components contract in the cooler nights. If you live on a property with heavy tree cover or irrigation overspray hitting the gate, run it quarterly. In our experience, Orlando gates that get semi-annual attention need major repairs roughly half as often as gates that get none.
For swing gates, it’s hinge failure from post shift in sandy soil followed closely by actuator seal failure from heat exposure. For slide gates, it’s track jams from live oak debris in the fall and wheel bearing failure from sand intrusion. The first is a maintenance item. The second two are repairs. Since 2008, our Orlando technicians have seen these exact failures repeat season after season.
You can wash the gate frame with a low-pressure setting and a wide fan tip, but do not aim a pressure washer at the operator, the control box, the photo-eyes, or any hinge or bearing. High-pressure water forces its way past seals and into bearings, and in Orlando’s humid climate, that water doesn’t evaporate the way it would in a dry city. It sits and starts corrosion within days.
Place a sturdy object, like a 2×4 or a filled trash can, in the gate’s path, then activate the gate with the remote or keypad. The gate should contact the object and reverse within two seconds. Test it in both the opening and closing directions. If the gate pushes through the object or doesn’t reverse, the safety reversal has failed and the gate needs professional service.
No. The 365-Day Done Right Promise applies to repairs: if we fix something and the same repair fails within 365 days, we come back and correct it at no charge under the written guarantee on your invoice. Maintenance is preventive work and is priced as such, with a written price before we begin and a clean job site when we leave. If a maintenance visit uncovers a needed repair, that repair carries the same 365-day guarantee as any other.
The Bottom Line
An Orlando gate that gets a twice-yearly pass through this checklist will last years longer and fail less often than one that gets ignored until the remote stops working. The ten core tasks take under an hour for a homeowner and cost almost nothing in supplies. The three things that matter most in this climate are clearing debris and sand from moving parts, using the right lubricant in the right place, and testing the safety reversal every single time. When a finding crosses into repair territory, call a professional who gives you a written price before the work and a written guarantee on the repair. For deeper reading, see our Gate Repair Warning Signs: A Orlando Homeowner’s Reference Guide. That’s how you keep a $150 maintenance item from turning into a $1,500 operator replacement.
Written by Dean Prescott, Owner at Portcullis Gate Repair Orlando, serving Orlando since 2008.
See the difference
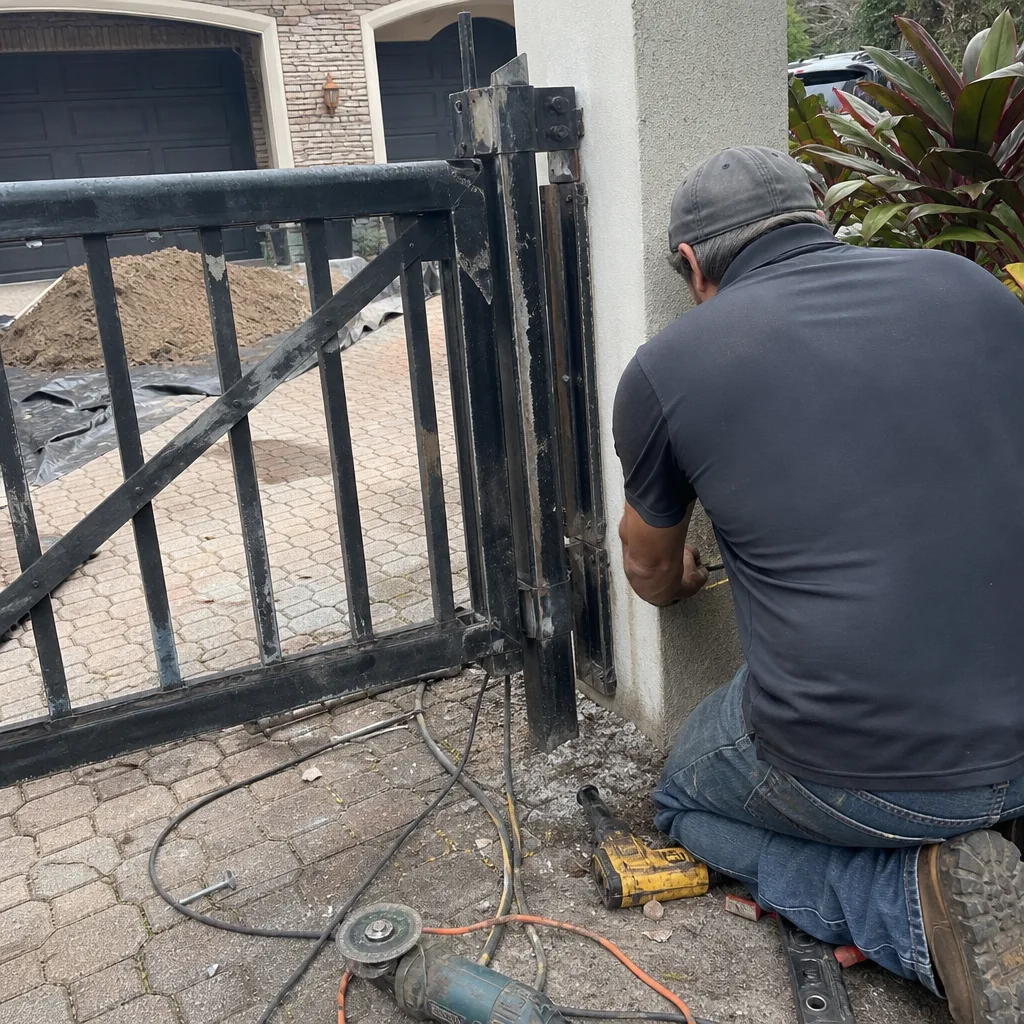 Before
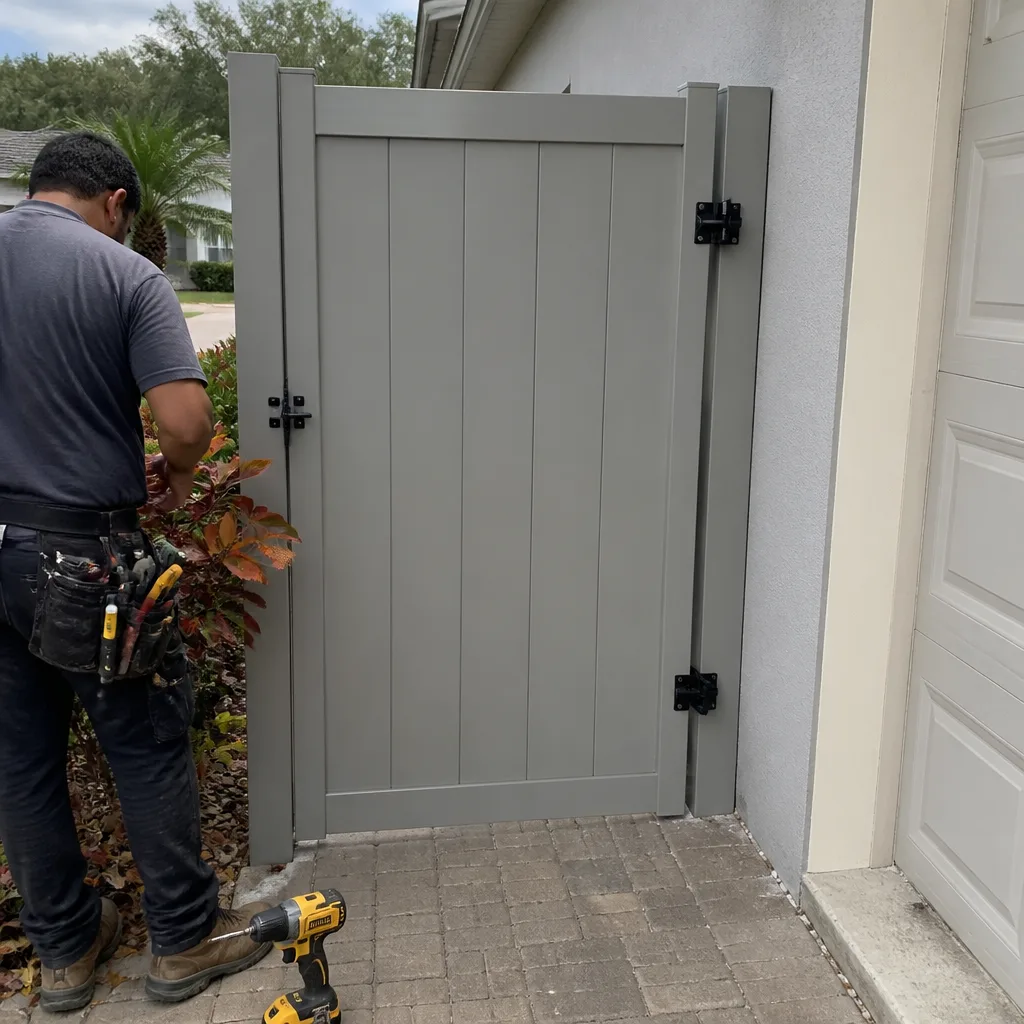 After
After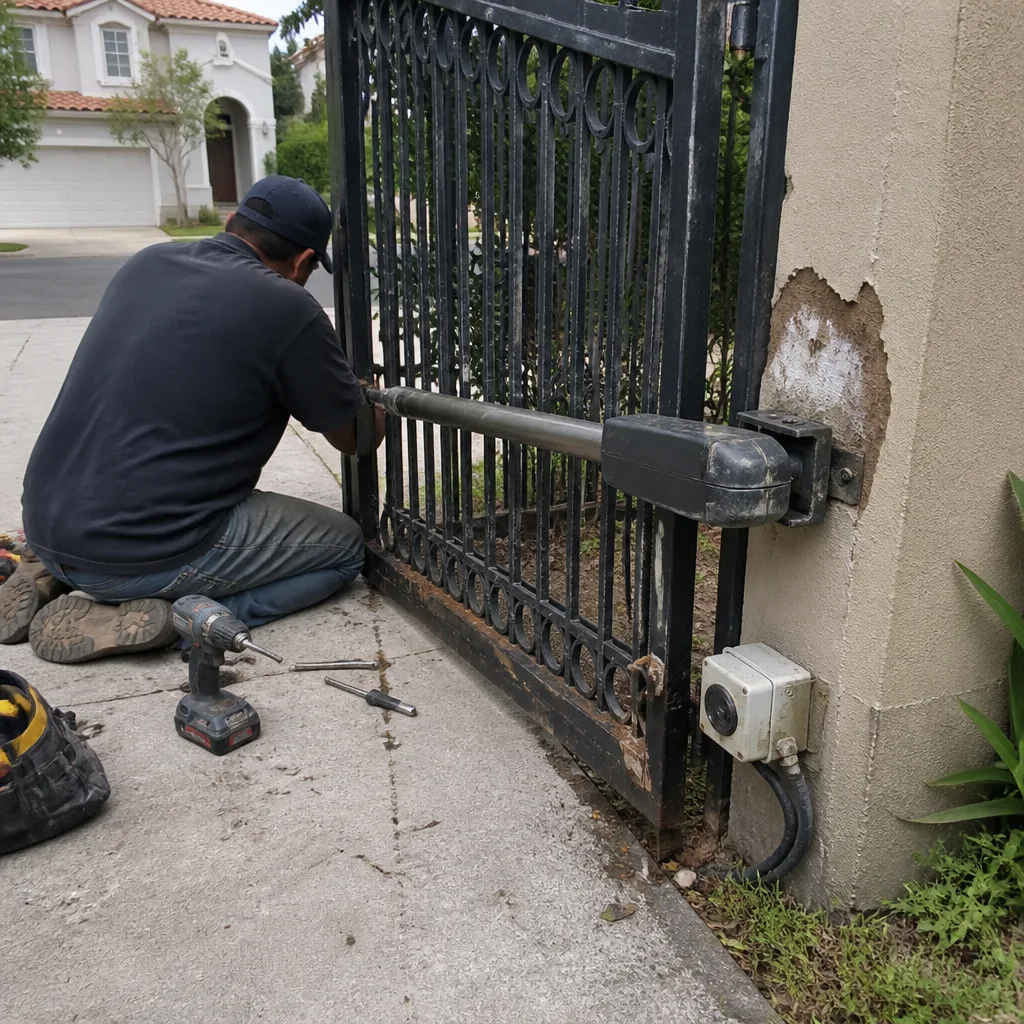 Before
 After
After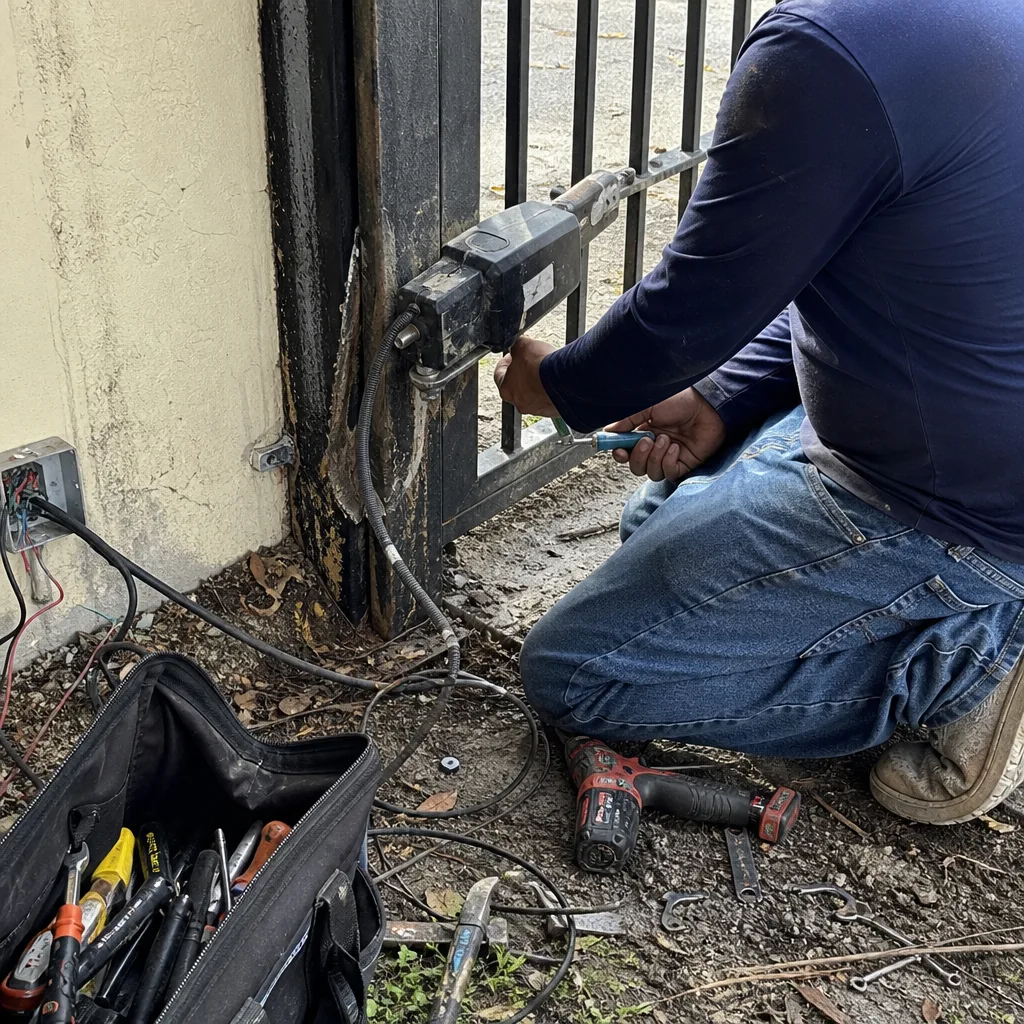 Before
 After
After